

' | giphy | fixed gear focus")
You’re hammering away on a solo ride, legs burning, pushing 18 mph into a headwind. Then a group rolls past effortlessly at 22 mph—and half of them look like they’re barely breaking a sweat. 🚴♂️ What gives?
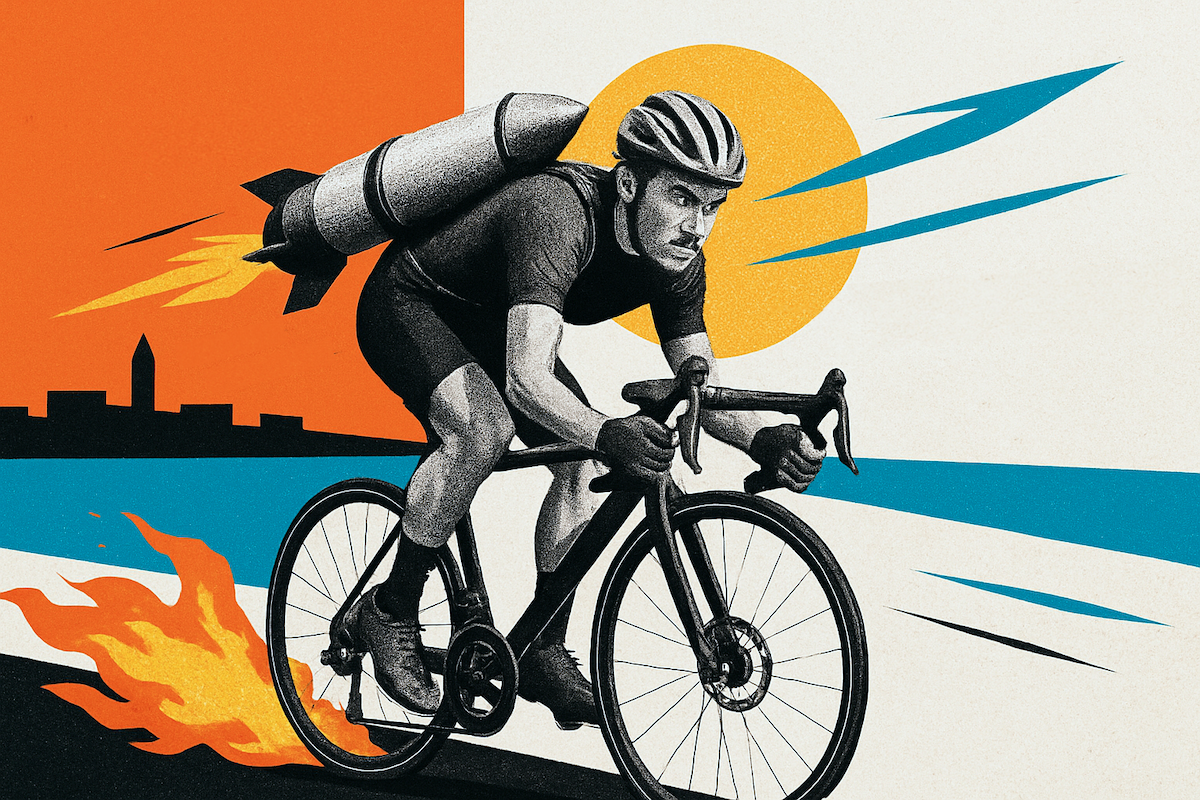
Welcome to the magic of drafting. It’s not some elite secret or Tour de France wizardry. It’s basic physics that any cyclist can use to ride faster, farther, and with way less suffering. At the right distance, drafting can reduce your energy output by up to 30-40%—that’s like getting a free gear upgrade without spending a dime.
TL;DR:
- Drafting can save 25-40% of your energy by riding in another cyclist’s slipstream, with measurable benefits extending up to 20 meters behind
- The sweet spot is typically 6 inches to 3 feet from the rear wheel, but beginners should start at 2-3 feet and work closer as skills improve
- Master three core skills: look through (not at) the wheel ahead, maintain smooth pedaling without surging or coasting, and anticipate movement before it happens
- Avoid overlapping wheels—it’s a leading cause of pack crashes and can take you down instantly if the lead rider moves laterally
If you’re ready to stop getting dropped on group rides or just want to understand why the peloton works the way it does, stick around. ⚡
A video titled “The Draft Effect | How Does Slipstreaming Save Energy Whilst Cycling?” from the GCN Tech YouTube channel.
What Is Drafting in Cycling?
Drafting—also called slipstreaming—is riding directly behind another cyclist to reduce wind resistance. The lead rider “punches a hole” through the air, creating a low-pressure zone behind them that essentially sucks you along. Think of it like swimming behind someone in a pool—they displace the water, and you glide through their wake with less resistance.
master drafting in cycling for energy efficiency and speed with our top strategies.")
Did you know?
At 25 mph, approximately 90% of your effort fights air resistance—not gravity, not rolling resistance, but pure wind. This is why understanding cycling aerodynamics becomes crucial for improving your speed. That’s why drafting works so effectively. The faster you go, the more energy you can save by tucking into someone’s wake.
Here’s the actual science: Swiss Side’s wind tunnel testing showed that at 45kph (28 mph), a following rider saves 65% of the effort required to overcome aerodynamic drag when positioned just 10cm behind. Even at 10 meters back, you’re still saving 33.5 watts. That’s significant—for context, gaining 33 watts through training or equipment upgrades would take months and cost thousands of dollars. But you get it for free just by positioning yourself correctly.
Did you know?
Even the lead rider gets a 3% energy boost from having someone draft behind them, thanks to the low-pressure bubble between riders that literally pushes them forward. Physics is cool like that. This means telling someone not to draft you is actually making you work harder too.
Why Drafting Matters More Than You Think
Energy conservation compounds over distance. Saving 30% energy for an hour doesn’t just mean you have 30% more left in the tank—it means you can go farther, sprint harder at the finish, or just not blow up on the last climb. Over a 50-mile ride, that 30% savings could mean arriving 30-45 minutes earlier than riding solo at the same perceived effort.
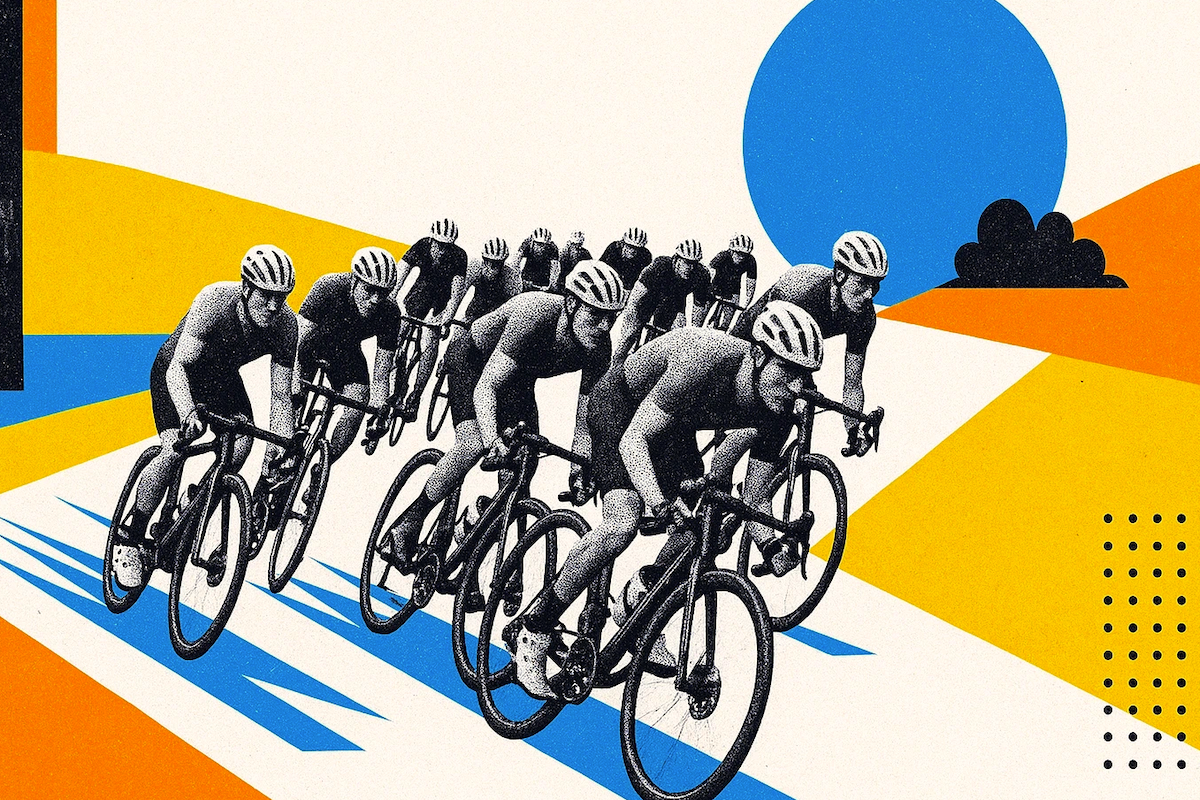
This is why professional pelotons can sustain 28+ mph for hours while many riders are soft-pedaling. The front rotates constantly, but most of the pack is coasting in the slipstream doing maybe half the work. It’s organized laziness at its finest.
The Mathematics of Energy Savings
The numbers are impressive:
- At close range (inches): 27% drag reduction drafting one rider, up to 50% when drafting two cyclists
- At 5 meters (about 2 bike lengths): can still provide 10-20% energy savings
- At 20 meters: measurable drafting effect still exists
In an eight-rider paceline, maximum drag reductions of up to 63% are possible, with the second-to-last position seeing up to 68% reduction. That’s why you’ll see experienced riders fighting for specific spots in the pack—position really matters.
But what about climbing? You might think drafting doesn’t work uphill when speeds drop to 10-15 mph. Not quite. Even on a 7.5% gradient at just 6 m/s (13.4 mph), cyclists can save over 7% of required power by drafting. At steeper grades the benefit shrinks, but it’s never zero. For elite riders maintaining 300-400 watts on climbs, a 7% savings is 21-28 watts—enough to make or break a race.
The faster you’re traveling, the more critical drafting becomes. But even at slower speeds, the savings can still be meaningful—especially over long distances where every watt counts.
The Sweet Spot: How Close Should You Actually Ride?
There’s no single answer because it depends on your skill level, speed, and conditions. But here’s a general breakdown:
| Distance | Approximate Energy Savings | Skill Level | Risk Level |
|---|---|---|---|
| 6-12 inches | 30-40% | Expert | High |
| 1-2 feet | 20-30% | Intermediate | Moderate |
| 2-3 feet | 15-25% | Beginner | Low |
| 3+ bike lengths | 10-15% | Any | Very Low |
Beginners: Start at 2-3 feet. You’re still getting 15-25% energy savings without the white-knuckle terror of riding inches off someone’s wheel. This gives you reaction time—if the rider ahead brakes, you have 0.5-1 second to respond instead of 0.1 seconds.
Intermediates: Work your way to 1-2 feet as you build confidence. Experienced riders often ride within a foot, but typically only with people they trust. At this distance, you need to trust that the rider ahead won’t make sudden movements.
Experts: Some riders get comfortable within inches, even occasionally touching wheels—but they’ve practiced for years and know exactly who they’re following. They’ve also likely crashed a few times learning these skills.
Speed matters too. At 15 mph, a bit more distance is fine. At 25+ mph, tighter positioning yields bigger savings because air resistance scales exponentially with speed. Specifically, air resistance increases with the square of velocity—doubling your speed quadruples the air resistance you’re fighting.
Warning…
Avoid drafting closer than you can react safely. If you’re staring at the wheel with death-grip hands and zero margin for error, you’re too close for your current skill level. Back off. A crash at 20+ mph can mean road rash, broken bones, or worse. The energy savings aren’t worth hospital bills.
Mastering Drafting Technique: The Three Core Skills
Most people think drafting is just “follow the wheel.” Wrong. It’s three distinct skills that work together. Developing proper cycling form and technique makes learning these skills significantly easier.
Skill #1: Look Through, Not At
Staring down at the wheel in front of you is dangerous because you won’t see what’s happening ahead. If the lead rider brakes, you’ll notice too late. If there’s a pothole, you’re hitting it blind.
The technique: Look through the rider ahead, focusing 10-20 feet up the road. Use peripheral vision to maintain position. Your brain is actually better at tracking relative distance in peripheral vision than central vision—trust it.
Occasionally check your wheel distance, but develop a second sense so you can make micro-adjustments without looking down. It takes practice, but this skill alone can prevent many newbie crashes.
How long does it take to learn? Many riders develop this sense within 2-3 group rides if they practice consciously. The key is resisting the urge to stare at the wheel—force yourself to look ahead even when it feels uncomfortable. After 50-100 miles of practice, it typically becomes automatic.
Skill #2: Smooth Pedaling Transitions
The accordion effect—where riders surge and brake repeatedly—kills everyone’s flow and wastes energy. Free-spinning (coasting while drafting) causes hesitation and concern for the rider behind you. When your pedals suddenly stop moving, the rider behind thinks you’re braking and reacts accordingly, creating a chain reaction through the pack.
The technique:
- When closing distance: soft-pedal or sit up to catch wind resistance
- Before braking: stop pedaling first, then feather (not slam) brakes if needed
- Think “anticipate and coast” before “brake and panic”
DO:
- Maintain consistent pedaling cadence
- Soft-pedal when closing gaps
- Anticipate speed changes
- Keep upper body relaxed
- Communicate changes to riders behind
DON’T:
- Coast randomly or free-spin constantly
- Surge forward then slam brakes
- React only after changes happen
- Death-grip the bars
- Make sudden unpredictable movements
Skill #3: Reading and Anticipating Movement
Keeping your head up gives you a feeling for the pace of the group and the road ahead. You need to predict what’s coming before it happens. This is what separates intermediate riders from advanced riders—the ability to see problems 5 seconds before they happen.
Watch for:
- Weight shifts: Rider standing up or sitting down (indicates acceleration or braking)
- Cadence changes: Pedaling slowing or speeding up (listen to freehub clicks)
- Head turns: Looking at obstacles (they’re about to move)
- Hand signals and body language: Pointing, waving, shoulders tensing
Better bike handling means you can predict what’s happening around you and be more predictable yourself—which lets you draft closer and save more energy. If you want to improve your overall bike handling skills for urban riding, practice track stands, tight cornering, and emergency braking in safe environments.
Pro tip: Listen to the group. Experienced riders can often hear when someone changes gears, when a wheel overlaps, or when a rider is struggling. Your ears give you 360-degree awareness that your eyes can’t match.
Common Drafting Mistakes (And How to Fix Them)
The Overlap Trap
Avoid overlapping your front wheel with the rear wheel of the cyclist ahead—it’s a major cause of pack crashes. If they move laterally even 6 inches, you’re going down. Hard. And you’ll probably take 5-10 riders behind you down too.
Why it’s so dangerous: When wheels touch with overlap, your front wheel gets deflected violently sideways. With your weight over the front wheel during normal riding, this deflection can instantly make the bike unstable. You have very little time to react. Experienced riders know this instinctively and avoid overlap religiously.
The fix: Always keep your front wheel behind their rear wheel. In crosswinds, experienced riders sometimes overlap slightly in echelon formation, but that’s advanced-level stuff requiring total trust and years of practice.
The Death Grip
Holding your handlebars in a death grip wastes energy and makes you tense. Stiff arms can’t absorb road vibrations, making bike handling jerky and unpredictable. Worse, tense shoulders and arms fatigue faster, degrading your bike control exactly when you need it most.
The fix: Relax your grip. Keep hands over the brake levers but ready to feather, not slam. Think “firm but loose.” Your hands should feel like they’re resting on the bars, not gripping them. Periodically shake out your hands and roll your shoulders to release tension.
The Surge
When you reach the front, avoid surging ahead trying to be a hero. Maintain the group’s pace smoothly rather than accelerating, which forces everyone to work harder to stay on.
Why people do this: It feels natural to accelerate when you hit the front—you’ve been resting in the draft, you feel fresh, and there’s a competitive urge to show strength. Resist it.
The fix: As you move to the front, slightly increase effort to maintain speed (not accelerate). Keep it steady for your pull duration, then rotate off smoothly. A good pull is invisible—the pack shouldn’t even notice the transition. If you’re not sure about your pace, use a power meter or speedometer as a reference.
The Tunnel Vision
If you’re only staring at the wheel in front of you and there’s a crash ten riders up, your reaction will be much slower.
The fix: Constantly scan: wheel → lead rider’s body language → front of pack → road surface. Cycle through this every few seconds. This scanning pattern becomes automatic with practice.
Group Ride Etiquette and Communication
Drafting isn’t just technique—it’s teamwork. Understanding urban cycling safety and group communication can help prevent accidents and build trust within your riding group. Here are the essential calls and signals every rider should know:
Critical Safety Calls:
- “Car back!” or “Car up!” — Vehicle approaching from behind or ahead
- “Car left!” or “Car right!” — Vehicle from the side
- “Slowing!” — Pack is reducing speed (don’t slam brakes)
- “Stopping!” — Pack is coming to a full stop
- “On your left!” — You’re passing someone
- “Clear!” — Safe to proceed through intersection
- “Hole!” — Pothole or road hazard ahead
Hazard Signals:
Point down at potholes, debris, or road hazards with the hand closest to the hazard. Wave hand behind back in a slowing motion to signal slower pace. Signal with elbow or hand when rotating off the front. Tap your hip/butt to indicate you want someone to come through and take a pull.
Critical warning!
Communicate clearly with the group. Avoid drafting off strangers without asking first—it’s generally considered poor etiquette. Roll up, introduce yourself, and ask if you can tag along. Most groups are cool with it, but the courtesy matters. Plus, you’re letting them know you’re there so they can signal hazards to you.
Why communication matters more than you think: In a group of 20 riders, a pothole warning from the front can save the entire pack from crashes and flat tires. One rider’s vigilance protects everyone. This cooperative awareness is what can make group riding safer than solo riding in many situations.
Advanced Drafting Tactics
Once you’ve mastered the basics, these techniques take you to the next level:
Echelon Formation in Crosswinds
In crosswinds, straight pacelines lose effectiveness. An echelon is a staggered line where you position yourself at an angle away from the wind, creating a diagonal formation. The group looks like a slanted line across the road rather than straight.
How it works: If the wind is from the right, riders position themselves slightly to the left-rear of the rider ahead. This creates a diagonal “staircase” of riders, each sheltering the next from the crosswind.
The catch: Echelons require wheel overlap and can be risky when riders make sudden lateral movements. Only attempt this with experienced riders who understand the formation. Also, road width limits echelon size—on narrow roads, you might only fit 3-4 riders before running out of space.
Pro tip: Wind direction determines which side to position yourself—if wind’s from the right, move slightly left of the rider ahead. Check trees or flags to read wind direction. In gusty conditions, be ready to adjust your position constantly as wind direction shifts.
Strategic Positioning in the Pack
Not all positions are equal. The fifth rider in a single paceline tends to experience the most energy-saving benefits. The front third works hardest but controls pace. The back third gets dropped easiest if the pace surges—gaps open from the back forward, so being at the rear means you’re first to lose contact.
Smart riders conserve energy in the middle of the pack until it’s time to attack or respond to moves. Position isn’t about ego—it’s about energy management.
Smart riders: Conserve energy in the middle of the pack until it’s time to attack or respond to moves. Position yourself where you can save maximum energy while staying out of danger zones—which typically means not dead last where any gap formation drops you instantly.
Advanced tactic – “Surfing the pack”: Experienced riders move forward by jumping from wheel to wheel when riders rotate off the front, effectively advancing their position without burning matches. This requires reading the pack’s rhythm and anticipating rotations before they happen.
Is Drafting Dangerous? (The Honest Answer)
Let’s cut through the BS: Yes, drafting carries risk. You’re riding inches from another human at 20+ mph. Mistakes happen. People crash.
But here’s the thing: The risk is highly skill-dependent. Experienced riders draft safely for thousands of miles per year. The danger typically comes from:
- Following unpredictable riders (erratic pace, sudden movements, poor signaling)
- Riding beyond your skill level (trying to stay with faster groups)
- Lack of communication in the group (no hazard warnings, no rotation signals)
- Poor road conditions (wet, gravel, debris—on gravel, give people extra space)
- Mismatched fitness levels (struggling riders make unpredictable movements)
The statistics: While exact numbers vary, cycling accidents in groups are often caused by wheel overlap, sudden braking, and road hazards that weren’t called out. Solo riders face different risks—mainly from vehicles—but group crashes tend to involve multiple riders when they do occur.
Build skills gradually: Start with one trusted friend. Work up to small groups. Join beginner-friendly no-drop rides. Practice in safe environments like grass fields where you can touch wheels and bump shoulders without severe consequences.
The rewards can be substantial. Done right, drafting is one of cycling’s greatest pleasures—the feeling of effortlessly gliding along at speeds you’d never sustain solo. Just respect the learning curve and don’t skip steps.
Frequently Asked Questions
Frequently asked questions (FAQ)
In most triathlons, there’s a “no-draft zone” of 7 meters (about 3 bike lengths) behind other cyclists. Even at that distance, you can get 10-20% energy savings, though officials penalize riders who close the gap. Draft-legal triathlons do exist where standard paceline rules apply. Why the difference? Triathlon emphasizes individual performance—cycling is just one leg of a multi-sport event. Road racing, by contrast, is inherently tactical and team-based, so drafting is legal and encouraged.
Yes, but the benefit decreases. Below 10-12 mph, you’re fighting rolling resistance more than wind, so drafting benefits become negligible. Above 15 mph, the advantages become significant. At 25+ mph, drafting is absolutely critical—you’d burn 40-50% more energy riding solo at those speeds. For context: on flat terrain at 20 mph, roughly 80% of your effort fights air resistance. At 10 mph, it’s only about 50%.
Typically 0.5-1 mile (1-2 km) keeps everyone fresh and alert, but it depends on group strength and terrain. In a two-person time trial, you might rotate every 30 seconds; on a 200-mile ride, maybe 5-10 minutes. Match your pull length to the group’s pace and your own fitness. As a general rule: if you’re breathing so hard you can’t talk by the end of your pull, you went too long. Pull until you feel the effort, then rotate off—don’t wait until you’re cooked.
Be honest about it. Many groups offer “no-drop” rides where the pack waits at checkpoints. If you’re getting dropped on regular rides, you might need a slower group or to build more fitness. There’s zero shame in choosing the right level—everyone started somewhere. Getting repeatedly dropped and struggling to catch back on can be both dangerous (you’re isolated and exhausted) and demoralizing. Find a group that matches your current fitness, improve, then move up.
You’re probably coasting while the rider ahead maintains steady power. Stop pedaling before you need to brake, or sit up to catch wind. This is the soft-pedal technique—feathering your effort rather than on/off pedaling. The draft is so effective that even coasting, you maintain most of your speed while the rider ahead slows fractionally from fatigue or terrain changes. This causes a “compression effect” where gaps close naturally.
Sort of. You can practice smooth pedaling transitions and bike handling, but you need another rider to truly learn drafting skills. Find one experienced friend and practice on quiet roads. Start in a big parking lot or grassy field where mistakes are forgiving. Visualization can help too—picture yourself following a wheel, maintaining distance, and scanning ahead. But nothing replaces actual practice with real riders.
Final Thoughts
Drafting isn’t magic—it’s physics plus practice. The energy savings are real, measurable, and substantial. But the skill development is equally important. You’re not just learning to follow a wheel; you’re learning to read riders, anticipate movement, communicate non-verbally, and handle your bike with precision.
Drafting skills are easy to take for granted if you’ve been riding in groups for years, but they require deliberate practice for beginners. Put in the reps with trusted riders in safe environments. Build confidence gradually. Master the fundamentals before attempting advanced tactics. Most importantly, remember that drafting is a skill—it improves with practice, coaching, and conscious effort. Don’t expect to master it in one ride.
The payoff? You’ll ride faster with less effort, stay with stronger groups, and access one of cycling’s most satisfying experiences—the zen-like flow of a smooth, fast paceline where everyone’s working together. That’s when cycling stops feeling like solo suffering and starts feeling like a team sport. The silent coordination, the shared effort, the collective speed that exceeds what any individual could sustain—that’s the magic of drafting.
Now get out there and find a group to practice with. Your legs will thank you.
Sources and references
- Cycling Weekly – How close do you need to be to benefit from drafting?
- Sports Engineering – Aerodynamic analysis of uphill drafting in cycling
- Bicycling Magazine – Master Efficient Cycling With These Pro Drafting Techniques
- Liv Cycling – How to Draft on a Road Bike
- TrainerRoad Blog – Cycling Group Rides: A Guide to Etiquette, Pacelines, Drafting, and Safety
- Bicycles Stack Exchange – How close do I have to be for effective drafting?
- Chris Carmichael – Cycling in Wind: Skills for Solo Riding and Drafting
- Road Bike Rider – Cycling Skills: Beginner’s Guide to Drafting on a Bike
- ScienceDirect – Aerodynamic impact of cycling postures on drafting


