
TL;DR:
- Fixed gear means your pedals always move when the bike moves—no coasting, ever
- Most riders feel confident within 3-7 days of regular practice in safe environments
- Master three fundamentals: starting smoothly, controlled stopping with brakes, and cornering without pedal strike
- Start with a front brake while learning—going brakeless is optional and comes later
You just bought your first fixie and you’re staring at it like it’s some kind of alien tech. Your geared-bike muscle memory is screaming that this is going to end badly. 😬
Learning to ride fixed gear feels weird for about three days, then suddenly clicks. It’s not harder than learning to ride a bike the first time—it’s just different. The constant pedaling becomes second nature faster than you think.
But there’s a lot more to it than that. So, in this article, you will learn what a fixie is, why people ride them, and a few tips to help you learn how to ride quickly and safely. This guide breaks down exactly what to practice, in what order, so you’re riding confidently within a week.
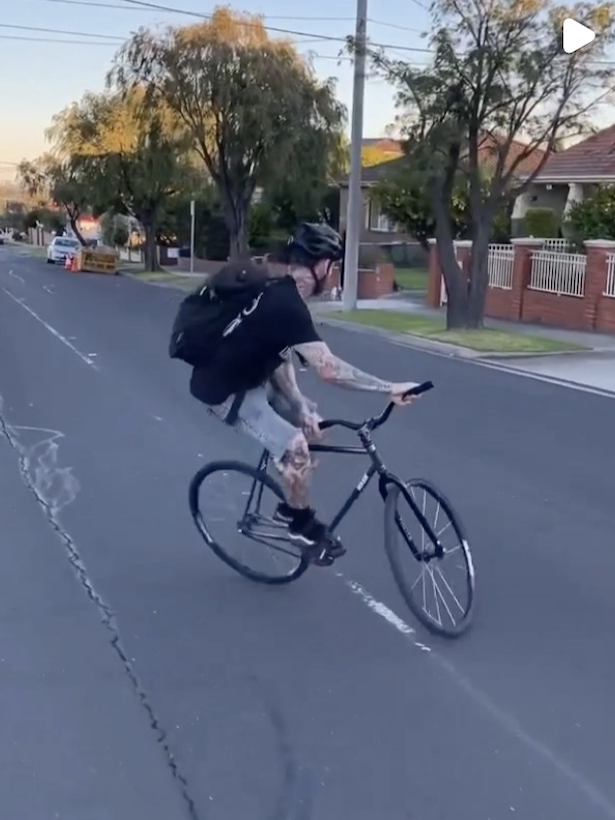
A video titled “How To Ride A Fixed Gear Bike” from the Global Cycling Network YouTube channel.
Why Fixed Gear Bikes Feel So Strange at First
On a fixed gear, your pedals and rear wheel are one system. If the wheel turns, your legs turn—no freewheeling, no breaks to coast. The moment you stop pedaling, the wheel stops too.

That direct connection is what makes it so different. Every other bike you’ve ridden has a freewheel letting you coast when you rest your legs.
On a fixie, if you stop pedaling suddenly, the drivetrain doesn’t forgive you—you’ll get yanked forward or skid out.
Fixed Gear vs. Single-Speed
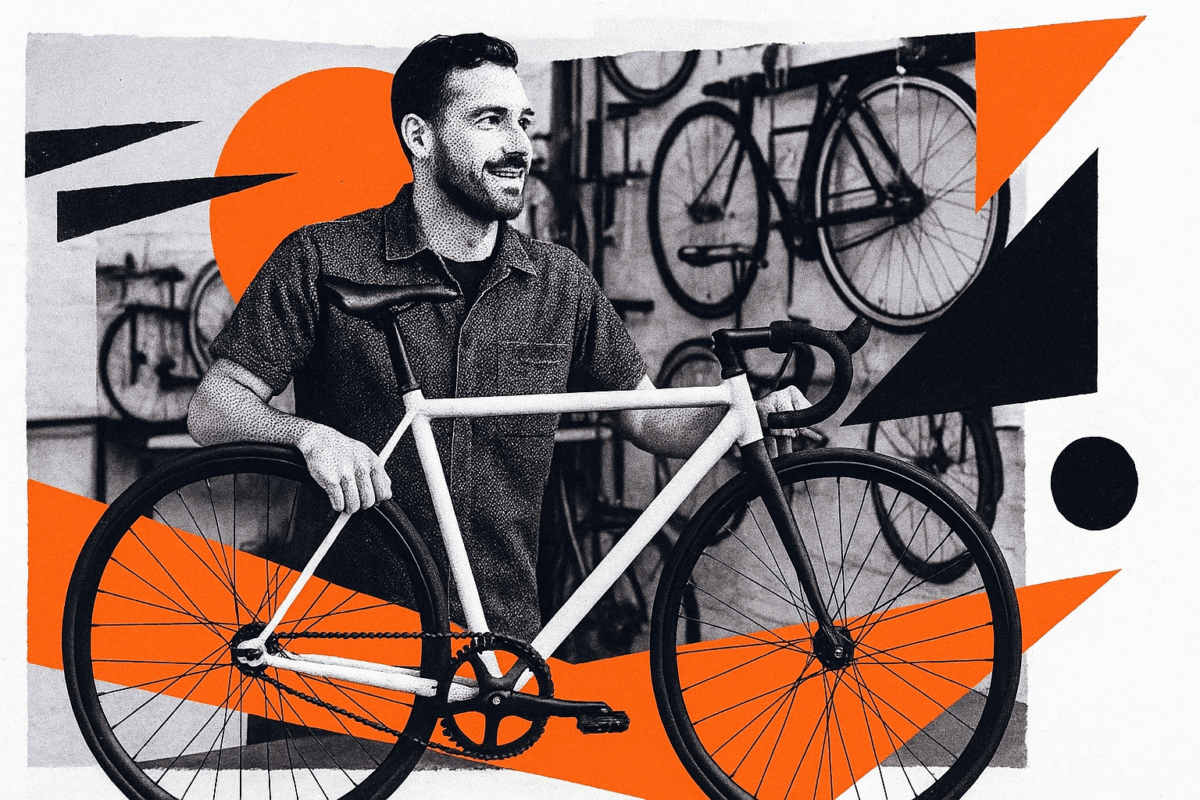
They look almost identical, which confuses beginners. The difference is simple:
- Single-speed: One gear and a freewheel, so you can coast.
- Fixed gear: One gear and no coasting.
Some bikes come with a flip-flop hub—fixed on one side, freewheel on the other—so you can ease into fixed riding.

Did you know?
Your legs become part of the braking system on a fixed gear bike. By applying backward pressure on the pedals, you can slow the rear wheel. This creates that direct connection to the road that fixed gear riders love—the bike becomes an extension of your body rather than something you’re just sitting on.
Adjusting to the Feel
Your brain’s wired o stop pedaling when you want to coast. On a fixie, that instinct fights reality. The pedals keep moving with the wheel, and if your feet are strapped in, they’ll pull your legs through every rotation whether you’re ready or not. Resist, and you’ll lock the rear wh
It usually takes about a week to rewire that reflex. By day three or four, your body starts syncing with the constant motion. By day seven, the rhythm feels natural—almost meditative. You stop fighting the bike and start flowing with it.
Other quirks fade too. You’ll learn to time pedal position when stopping, and to keep the inside pedal up in corners to avoid striking the ground. Once those habits click, the fixie stops feeling weird and starts feeling alive.
Your quads will be sore after your first few rides. This is normal—they’re doing more work than on a geared bike where you could coast to recover. Start with shorter rides (20-30 minutes) and build up gradually.
Before Your First Ride: Essential Setup
Getting your setup right before you ride makes learning dramatically easier. Let’s tackle the three things beginners get wrong most often.
The Brakes
You’ve seen the cool messenger riding brakeless through traffic. Don’t be that guy on day one. Learning brakeless is asking for trouble. You need to master the constant pedaling and cornering before you even think about removing brakes. This is where beginners panic. Stopping on a fixed gear requires coordination between your brakes, legs, and timing.
Front brake vs rear: Install a front brake. It provides 70% of your stopping power and works independently of your drivetrain. Many riders keep a front brake permanently—there’s zero shame in this. Going brakeless is a personal choice, not a requirement.

Why front over rear?
When you brake hard, weight shifts forward onto the front wheel, giving it more traction. Your rear wheel has less grip during hard braking, making a rear brake less effective. Plus, on fixed gear, you already have rear wheel control through your legs.
Gear Ratio
Your gear ratio determines how hard it is to pedal and how fast your legs spin. Most complete fixed gear bikes come with 48/16 (48 teeth chainring, 16 teeth cog), which equals a 3.0 ratio. This is actually too high for many beginners.
Recommended beginner ratios:
- 48/17 (2.82 ratio): The sweet spot for most beginners—easier to control, gentler on knees, forgiving on hills
- 46/17 (2.71 ratio): Great for hilly areas or if you’re not in peak fitness
- 44/16 (2.75 ratio): Another balanced option for urban riding
Why it matters: A ratio that’s too high forces you to mash (push hard, spin slow), which is exhausting and tough on your knees. A slightly lower ratio lets you spin faster with less effort, making the learning process smoother. You can always go higher once you’ve built leg strength and spinning ability.
Foot Retention: You Actually Need It
Don’t try to learn fixed on flat pedals. You need foot retention to control the bike properly. When the pedals are pulling your feet backward on downhills or when you’re slowing down, you need to stay connected. Here’s some retention options:
- Toe cages with straps: Classic, cheap, easy to adjust. Start with straps loose until you get comfortable.
- Clipless pedals: More efficient but harder to learn initially. If you’re already comfortable with clipless from road cycling, go for it.
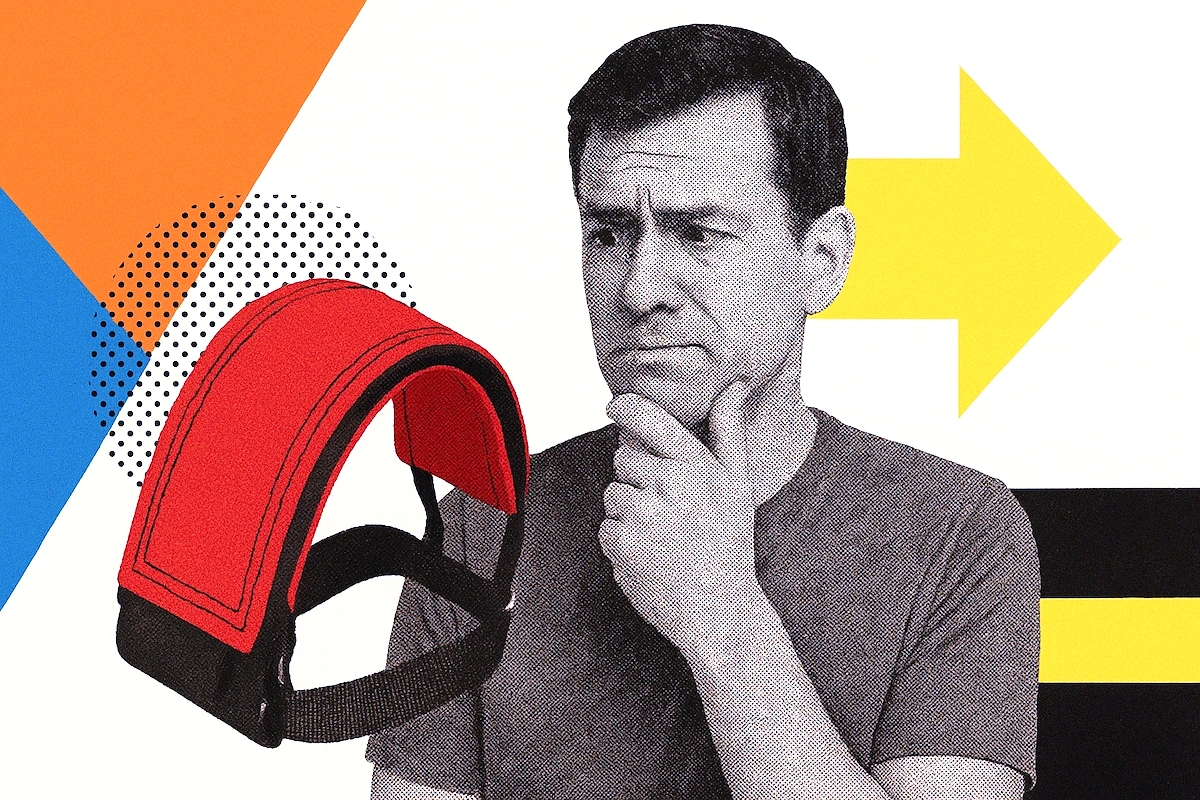
- Holdfast straps: Simple nylon straps—middle ground between cages and clipless.

Practice getting in and out
Before your first ride, practice clipping in and out while stationary. Hold onto a wall or railing and get your feet in and out of the straps 20 times. This muscle memory prevents that embarrassing slow-motion fall at your first red light.
Your First Ride: The Parking Lot Session
Find a large, flat, empty parking lot or park. You want forgiving surfaces (grass is even better for your first attempt), zero traffic, and plenty of space. Early Sunday morning at a church parking lot? Perfect.
The starting technique: Unlike a regular bike where you can start with one pedal down and push off, fixed gear requires both feet in retention. Here’s how:
- Position your dominant foot’s pedal at the 2 o’clock position (slightly forward of vertical)
- Get that foot into the strap/clip while standing over the bike
- Push down hard on that pedal to get momentum
- As you start rolling, get your other foot into position
- Keep pedaling—don’t try to coast
What to expect: Your first 30 minutes will feel awkward. You’ll try to coast 5-10 times. You’ll probably have a few sketchy moments where the bike bucks you slightly. This is completely normal. Everyone goes through this.

How long does it take to learn?
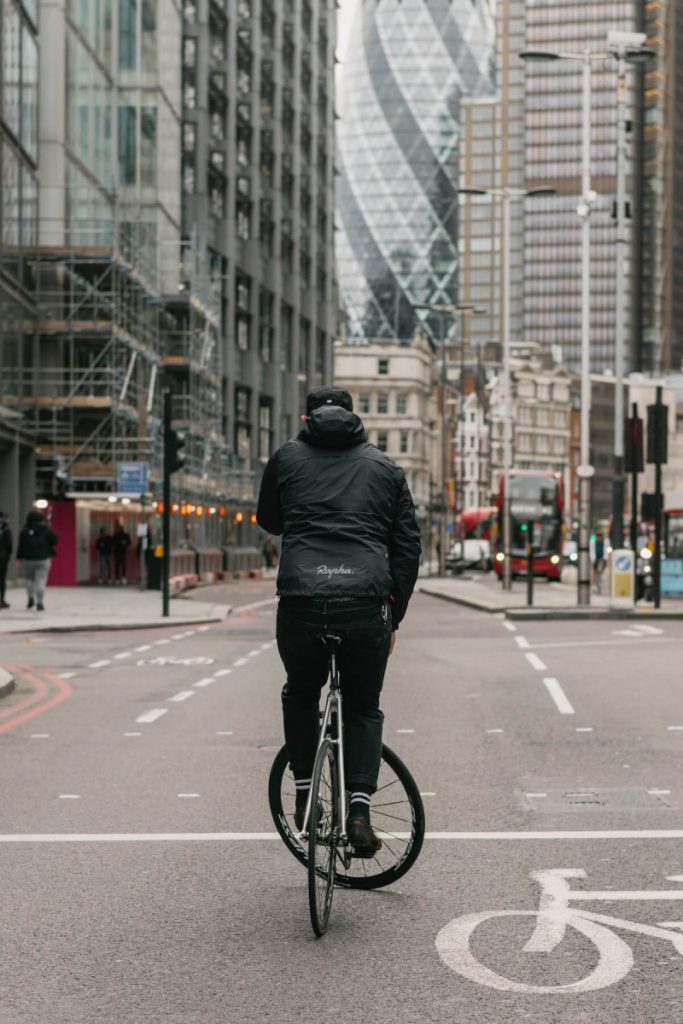
Learning how to ride a fixed-gear bike is like learning any other skill. The more you do it, the sooner you get better at it. It can take one day or one week. It truly depends on how often you ride.
Your First Week: What to Expect
Day 1-2: Everything feels wrong
Parking lot practice. You’ll try to coast 10+ times. You’ll have several “oh crap” moments. Stopping feels clunky. Corners are sketchy. Your legs will be tired. This is completely normal—power through it. Most riders spend 2-3 hours total on day 1-2 just building basic confidence.
Day 3-4: The light bulb starts to flicker
Venturing onto quiet streets. The constant pedaling starts feeling less foreign. You stop forgetting you can’t coast. Corners become more natural as you internalize the inside-pedal-up rule. You’re still thinking about every action, but it’s getting smoother. Many riders report a breakthrough moment around day 4 where everything suddenly “clicks.”
Day 5-7: It’s actually fun now
Fixed gear feels natural. You’re riding in light traffic confidently. The direct connection to the bike that everyone talks about starts making sense. You’re ready for longer rides and can focus on improving your cycling technique rather than just surviving. Some riders even remove their training wheels (metaphorically) and try their first hill.
Most riders hit a breakthrough moment around day 4 or 5 where fixed gear suddenly clicks—the bike starts to feel like an extension of your body rather than something fighting against you.
How to ride a fixed-gear bike (7 Tips)
1. Start at a standstill properly
To place your feet on the pedals, lift the rear wheel off the ground and rotate the pedals to the best position. It’s ok to use your hands to get your feet into the pedals at this point. This feels awkward at first, but it’s the standard method every fixed gear rider uses.
2. Master pedal straps
Pedal straps are essential for fixed gear riding. Without them, stopping is dangerous.
Insert your leading foot first, then push down while placing your other foot on the pedal. Practice getting in and out until it becomes second nature—when you struggle to get out, you’ll tumble when stopping.

Avoid clip-less pedals on the street
Do not use any foot fastening mechanism that requires your hands to get in or out. That’s fine on a track, but terrible for street riding. If your advanced, you might be able to get away with it. but for beginners, just don’t even try it.
3. Wear the right shoes
Canvas shoes with thin bottoms and minimal pattern (like Converse or Vans) work best with straps.
Modern running shoes have bulky bottoms that get trapped. Classic leather shoes are too broad in the front. Cycling boots don’t work with straps.
4. Never stop pedaling
The pedals are directly connected to the rear wheel. When the wheel moves, the pedals move. Period.
If you try to stop pedaling while moving, the pedals will yank your legs around or throw you off balance. There’s no coasting, no breaks for your legs.
5. Use your front brake
Your front brake has far more stopping power than the rear. A downward force is applied to the front wheel when braking, giving you more grip before sliding.
Even experienced riders keep a front brake for safety. Don’t rely only on leg resistance until you’ve mastered the technique.

Warning…
Never try to stop by putting your foot on the rear tire—you’ll destroy your shoes and probably crash. Some riders do this as a party trick, but it’s not a legitimate stopping method and will damage your frame from the friction and heat.
6. Avoid pedal strikes when cornering
Your pedals never stop spinning—even when you lean into corners. If you lean too far or turn too tight, your pedal will scrape the ground and throw you off.
Solution: Take wider turns and slow down more than you would on a freewheel bike.
Cornering tips
- Slow down before entering the turn
- Take wider turns than on a freewheel bike
- Keep your inside pedal up when possible
- Practice on empty streets first
7. Be patient and practice
Learning fixed gear takes time. It might click in one day or one week—everyone’s different.
Practice on soft ground (grass) or while leaning against a lamp post or railing. Build confidence gradually. The frustration you feel is completely normal.
Cornering Without Eating Pavement
Here’s where fixed gear gets tricky. Your pedals rotate through corners whether you want them to or not. If your inside pedal is down when you lean into a turn, it can strike the ground—instantly throwing you off the bike.
The golden rule: Inside pedal UP, outside pedal DOWN through every corner. Always. No exceptions.
How it works: If you’re turning left, your left pedal should be at the top (12 o’clock) as you lean. Your right pedal is at the bottom. This keeps your inside pedal away from the ground. You need to time this before you enter the turn—once you’re leaned over, it’s too late to adjust.
| Turn Type | Inside Pedal Position | Speed Adjustment | Risk Level |
|---|---|---|---|
| Gentle, wide turn | Top (12 o’clock) | Maintain speed | Low |
| 90-degree corner | Top (12 o’clock) | Slow before turn | Moderate |
| Sharp/tight turn | Top, plan ahead | Significant slowing | High |
| Downhill corner | Top, unweight bike | Control with brake | Very High |
Taking wider lines: You can’t make the tight, aggressive turns you might on a geared bike. Fixed gear requires you to take wider arcs through corners. This actually makes you a smoother, more controlled rider—you’re planning ahead rather than reacting.
What pedal strike feels like: If it happens (and it probably will once during learning), your pedal hits the ground mid-turn. The bike instantly lurches, your rear wheel can lift, and you’re thrown off balance. It’s jarring. This is why you practice in empty parking lots first.
Common Beginner Mistakes
The Big Five:
- Trying to coast: The #1 mistake everyone makes repeatedly. Just accept you’ll do this 20 times in week one.
- Wrong gear ratio: Starting with 48/16 or higher makes everything harder. Drop to 48/17 or 46/17 for easier learning.
- Skipping foot retention: Flat pedals on fixed gear is dangerous and makes control nearly impossible.
- Learning brakeless: Master the basics with a front brake first. Going brakeless on day one is reckless.
- Jumping straight into traffic: Practice in safe spaces for several hours before venturing into streets. Panic reactions in traffic cause crashes.
Graduating to Real Riding
Signs you’re ready to leave the practice area:
- You can start and stop smoothly 10 times in a row
- You haven’t tried to coast in your last 30 minutes of riding
- You can make figure-8s without pedal strikes
- Getting in/out of foot retention is automatic
- You feel comfortable at 12-15 mph
Your first hill: Going up is actually easier than on a geared bike for many riders. You can’t shift to an easier gear and overthink it—you just hunker down and spin. Going down is the scary part.
Descending: Your legs will spin faster than you’re used to. You have two options: (1) Let your legs spin fast and stay relaxed, or (2) Apply resistance through your legs to slow the bike. Use your front brake liberally on steep descents. Don’t try to be a hero. Many experienced riders still use brakes on long downhills.
Managing intersections: You can’t trackstand yet (that comes later), so approach red lights slowly and plan your stopping point. Some riders prefer to circle slowly rather than fully stop. Others just stop and restart—both are fine.
Why It’s Worth the Learning Curve
After a week of practice, most riders have a revelation: fixed gear isn’t just different—it’s better for certain types of riding. Here’s why people stick with it:
- The connection: You feel everything through the drivetrain. Road texture, subtle speed changes, momentum shifts—you’re directly connected to the bike in a way that freewheels can’t match. It sounds cheesy until you experience it.
- Improved skills: Fixed gear makes you a better cyclist overall. You learn to anticipate, read terrain, and control your bike with precision. These skills transfer to every type of riding.
- Simplicity and reliability: No derailleurs to adjust, no cables to stretch, minimal maintenance. Fixed gear bikes just work. In bad weather or tough conditions, simplicity wins.
- The culture: There’s something special about the fixed gear community. It’s inclusive, passionate, and always willing to help new riders. You’ll find group rides in every city once you’re ready.
Most riders who commit to learning fixed gear never fully go back to freewheels for urban riding. That tells you everything you need to know.
Frequently asked questions (FAQ)
Fixed gear bikes have a lot of advantages. Fixies provide a level of simplicity that harkens back to the early days of riding when one gear was the norm. Because your feet are directly attached to the back wheel, which moves the pedals around, your pedal stroke becomes practically flawless, and you are more efficient because there is no dead spot in the stroke.
You also learn to spin more effectively since you must cycle continually and faster on every descent. There is no mental energy spent tinkering with changing mechanics.
Finally, the link between the rider and the machine is almost flawless. Some riders are so talented that they can balance in place, slow down, and stop without using brakes.
Furthermore, since fixies originated in the “underground” bike messenger scene, the fixie culture has a lot of counter-culture characteristics.
If you’re looking for a new fixie, check out our post on the best fixed gear and single-speed bikes.
Fixies (also known as fixed-gear bikes) are bicycles that do not have gears. Instead, the pedals are linked directly to the rear wheel hub. This indicates that if the wheel is spinning, so are the pedals. Consequently, freewheeling (rolling down a hill without moving the pedals) is impossible, but the pedals may be used as brakes to manually slow down the bike.
Most riders feel confident after 3-7 days of regular practice. Day 1-2 feels awkward and you’ll try to coast constantly. Day 3-4 is when things start clicking. By day 5-7, it feels natural. Total time commitment is typically 5-8 hours of actual riding spread across that week. If you can dedicate a full weekend to practice, you’ll be ready for traffic by Monday.
It’s not harder—it’s different. The physical effort is similar, but the mental adjustment takes a few days. You’re relearning habits (like not coasting) and developing new skills (like timing corners). Once you adapt, many riders find fixed gear easier for urban riding because there’s no gear selection to think about. Climbing can actually feel easier because you can’t overthink gear choices—you just spin and go.
Yes, but choose your gear ratio carefully. A 46/17 or 44/16 ratio (around 2.7-2.75) works better for hills than the standard 48/16. Going up isn’t terrible—you can’t shift to easier gears, so you just commit and spin. Going down is the challenge—your legs spin fast and you need good bike control. Many riders in hilly cities (San Francisco, Seattle, Portland) ride fixed successfully. Just avoid extremely steep grades (15%+) when you’re starting out.
No. If you can ride a regular bike, you can ride fixed gear. Your legs will adapt to the constant pedaling within a few rides. Start with a lower gear ratio and shorter rides, then build up. Fixed gear actually improves your fitness because you can’t coast to recover—your legs are always working. Many people start riding fixed specifically to get in better shape.
This is completely normal and happens to literally everyone. You’ll try to coast 10-20 times in your first few rides. Each time, the bike reminds you with a little jolt. By day 3-4, you’ll do it less. By day 7, you’ll stop doing it entirely. Your brain just needs time to overwrite decades of freewheel muscle memory. Be patient with yourself and practice in safe spaces where these moments won’t cause crashes.
Most people learn on the street because they don’t have track access. Street learning is fine—just use empty parking lots and quiet residential streets initially. If you do have velodrome access, it’s an amazing place to learn because there’s no traffic, consistent surface, and no stopping. Track sessions with coaching can accelerate your learning. But the vast majority of fixed gear riders learned in parking lots and side streets, and that works perfectly well.
Riding a fixed-gear bike is not as difficult as some people would have you believe, and you can get the hang of it in less than a week.
The simple answer is no. The pedals and rear wheel of a fixed-gear bicycle are directly linked, which means that as the rear wheel spins, so do the pedals. As a result, you cannot coast on a fixed-gear bicycle and must pedal every time the bike moves.
In general, riding a fixed-gear bike over long distances is quite feasible. But it isn’t easy and is not recommended. If you want to do this, you’ll need to work on your fitness and gradually increase your distance over time.
Final Thoughts
Learning to ride fixed gear isn’t some impossible challenge reserved for hardcore messengers and track racers. It’s a skill that any cyclist can develop in less than a week with focused practice. The constant pedaling that seems so foreign on day one becomes second nature by day five. The direct connection you’ve heard people rave about? It’s real, and you’ll feel it once you get past the learning curve.
Start with proper setup—a reasonable gear ratio around 48/17, a front brake, and foot retention. Practice in safe spaces away from traffic for your first few hours. Master the fundamentals of starting, stopping, and cornering before venturing into real riding conditions. Be patient with yourself when you try to coast for the twentieth time—everyone does this.
Most importantly, don’t skip steps trying to be cool. Going brakeless on day one or jumping straight into traffic is how people get hurt. Take the full week to build confidence, and you’ll be rewarded with a riding experience that’s genuinely different and, for many, better than anything you’ve experienced on a geared bike.
So, are you new to the whole fixed gear thing? Or are you a seasoned veteran? Let us know in the comments below (we read and reply to every comment). If you found this article helpful, check out our full blog for more tips and tricks on everything fixie. Thanks for reading, and stay fixed.
Sources and references
- Santafixie – Fixie for Beginners: Tips to Ride Confidently
- Bicycles Stack Exchange – Fixie: How to Learn Step by Step
- BikeRadar – How to Master a Fixed Gear Bike
- JustRideIt – Fixed Gear Beginners Guide
- The London Cyclist – Riding Fixed for the First Time
- Complex – How to Ride a Fixed Gear Bike Without Dying
- Brotures – Understanding Gear Ratio and Skid Spots
- Loca Bikes – Fixed Gear: How to Choose the Gear Ratio
- Road Bike Rider – What Gear Ratio Should My Fixed-Gear Bike Have?
- Articles about Fixed Gear and Singlespeed Cycling and Equipment
- Fixed-gear bicycle – Wikipedia
- Fixed Gear Bike Riding Tips



Let me know what you think about riding a fixed gear bike. I read and reply to every comment!