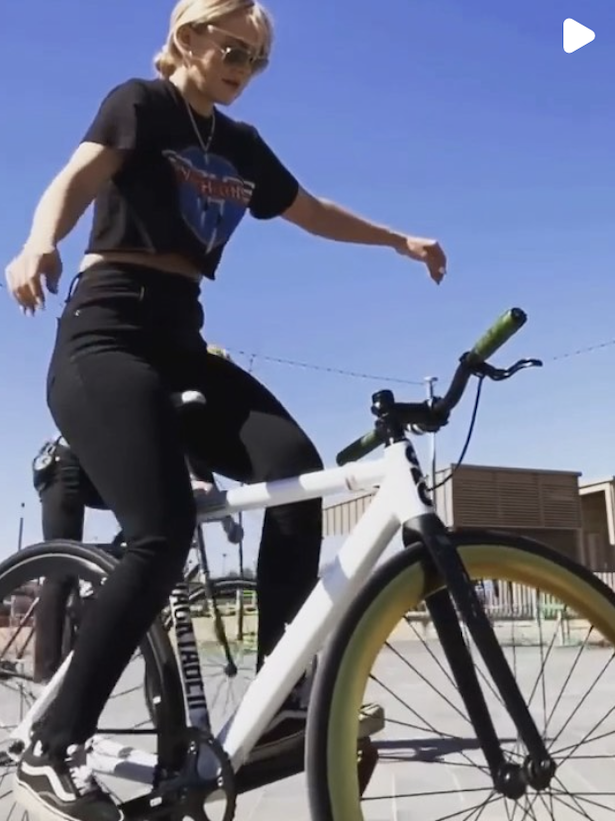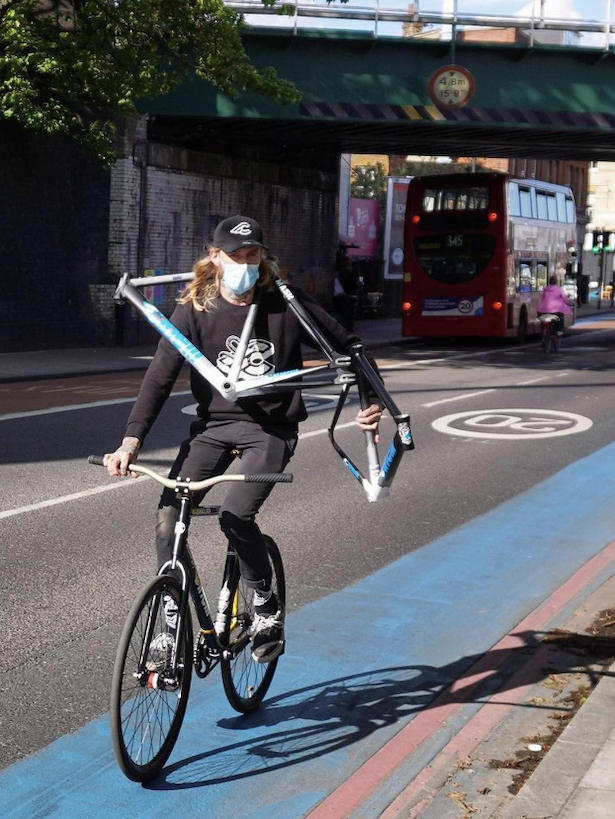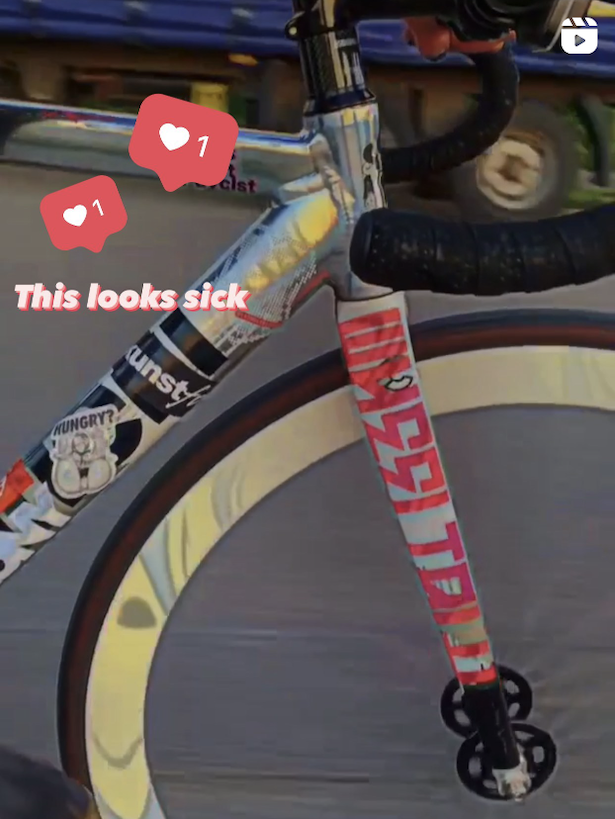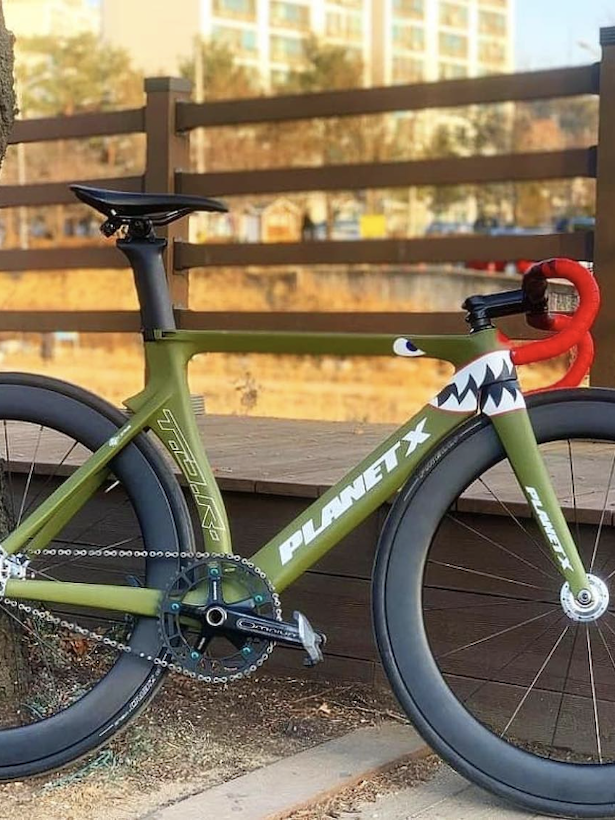
TL;DR:
- Budget $75-100 total for spray paint, primer, clear coat, and sandpaper versus $350-750 for professional paint jobs—that’s a month of rent you’re keeping
- Prep work determines 80% of outcome, with proper degreasing and sanding preventing the drips, chips, and peeling that plague rushed jobs
- Use 3-6 thin coats instead of heavy layers—each coat dries 30+ minutes, and rushing creates runs that look terrible
- Wait 5-7 days before riding hard even though paint feels dry after 48 hours—cutting corners leads to chips exposing bare metal within weeks
Your bike looks like it lost a fight with a cheese grater, and now every scratch screams “I can’t afford a new bike” 🔥. Dropping $350+ at a paint shop? That’s three months of beer money.
Here’s what nobody tells you: painting your own frame takes patience, not talent, the hardest part is just waiting for paint to dry.
This guide breaks down what you actually need, which mistakes trash your weekend, and how to get results that make people think you spent serious cash 👍.
A video titled “How To Custom Paint A Bike Like A Pro With Some Help From Fatcreations” from the GCN Tech YouTube channel.
Why Frame Prep Matters More Than Paint Brand
Most people think painting is about spraying. Wrong.
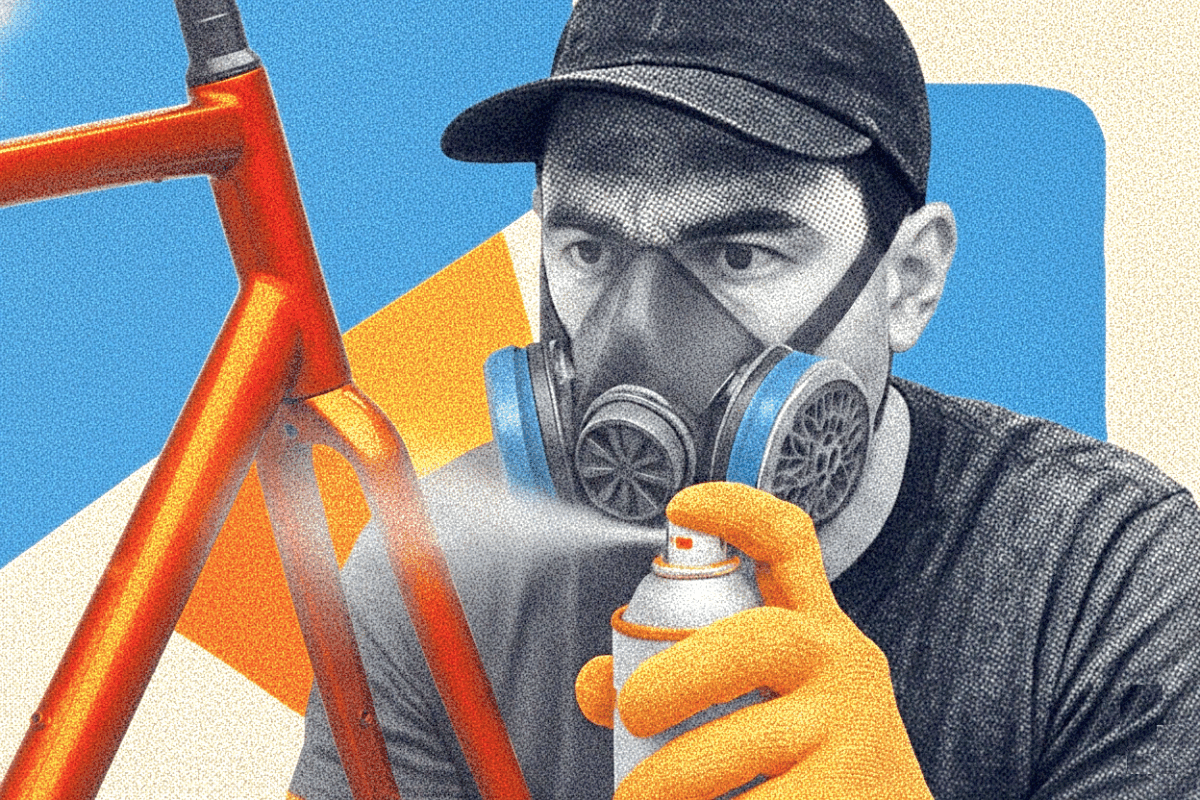
Your paint job lives or dies in prep, where proper cleaning and sanding create the foundation for paint adhesion. I’ve seen $15 Krylon jobs outlast $300 pro work because someone actually prepped the frame. Skip this and watch your fresh paint bubble, chip, or peel in sheets within weeks.
Paint doesn’t stick to grease, old wax, or smooth surfaces—it needs microscopic texture to grab.

Steel vs. Aluminum Frames
Steel frames need extra attention to rust spots before painting. Sand rust completely or it’ll bleed through your new paint.
Aluminum frames have an oxide layer that actually helps paint stick, but you still need to scuff the surface. Both materials paint the same way once prepped correctly.
Start by completely disassembling your bike. Everything comes off—wheels, chain, cranks, handlebars, seat.
Take photos during disassembly so you remember where parts go.
Clean the frame with degreaser like Pedro’s Green Fizz or Simple Green. Get into every tube junction, under the bottom bracket, around the head tube.
Use a soft-bristled brush to scrub away dirt, grease, and debris, then wipe down with clean cloth and let dry completely.
Final wipe with rubbing alcohol—it evaporates fast and leaves zero residue.
Take your time with prep, use thin coats, and wait for paint to cure. Your freshly painted fixie will turn more heads than a $2,000 complete—and you’ll have money left for actual riding.
Now comes sanding. Use 200-320 grit sandpaper to rough up existing paint, creating texture for new paint to hold onto without removing all old paint. You’re not stripping to bare metal unless the frame’s severely damaged. Just scuff it up.
Masking: The Tedious Step Nobody Skips
Tape off everything you don’t want painted. If there’s no paint on it already, don’t add any—cover brake posts, bearing surfaces, threaded areas, and anywhere parts fit back.
What Gets Masked
- Bottom bracket threads (critical)
- Head tube interior
- Seat tube interior
- Rear dropouts (or you’ll paint axle slots shut)
- Brake mounting posts
- Serial numbers you want preserved
Good masking tape sticks well but doesn’t pull off paint when removed.
Cheap tape ruins everything.
For stuck parts like crank arms, cover them with plastic bags and seal edges with tape.
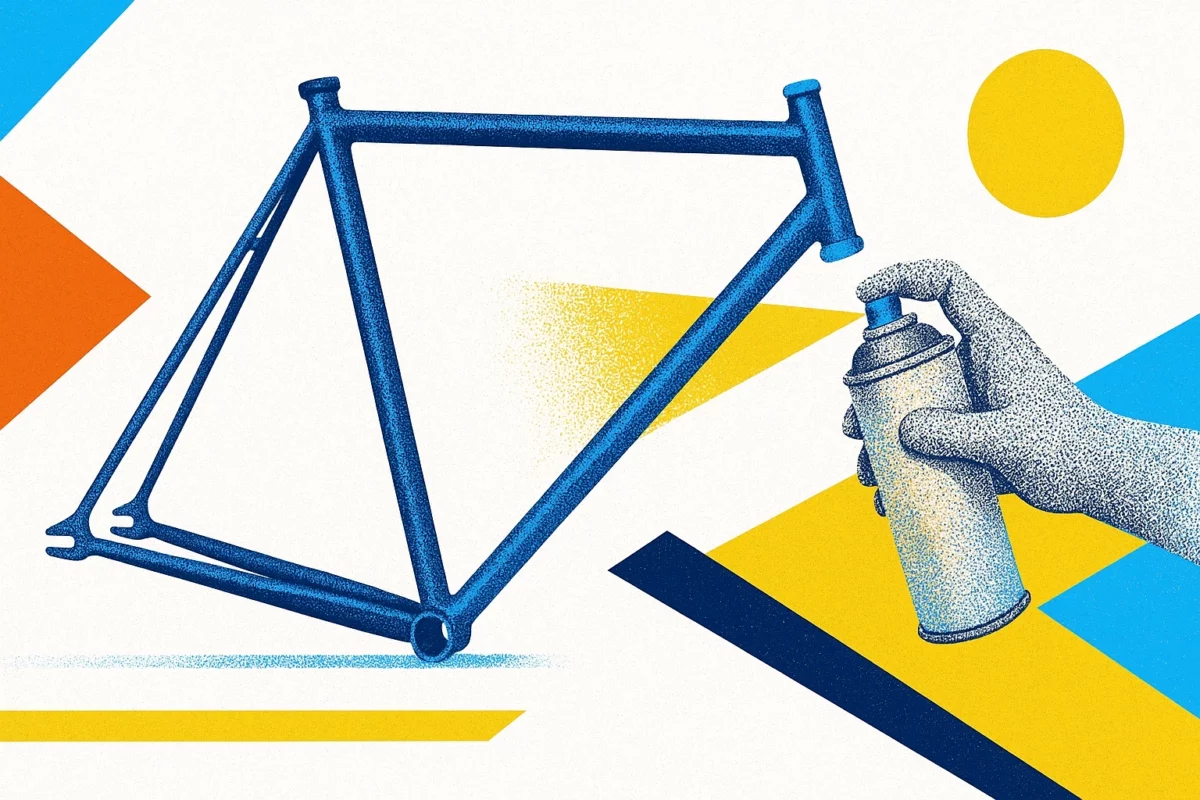
Choosing Paint That Actually Works
Walk into any hardware store and you’ll find 50 spray paint options. Most are trash.
Look for spray paints designed for metal surfaces to get smooth finish and proper adhesion. Those $3 cans from the discount bin chip off the first time you lean your bike against brick.
Never mix paint brands—different manufacturers use formulas that can react badly. Stick with one brand from primer to clear coat.
Paint Brands That Work
- Krylon Fusion All-in-One: Under $20 per can, combines primer and paint in one with excellent adhesion and matte finish options
- Rustoleum 2X Ultra Cover: Praised for how it sprays with impressive coverage, though can show orange-peel texture if applied too heavily
- Dupli-Color: Automotive-grade lacquer paint that’s forgiving and develops excellent luster when hand-rubbed after curing
Glossy or matte?
Glossy shows scratches more easily but has classic shine, while matte hides imperfections better and looks more modern. I go matte for street bikes that get beat up.
Step-by-Step: How to Paint Your Fixie Frame
Step 1: Prime Your Frame
Priming is especially recommended on bare metal, and proper primer prevents paint from peeling. I tried painting without primer once. Results lasted three weeks before everything started chipping.
Set up your workspace outside or in a well-ventilated garage. Paint in dry weather with low humidity and warmer temperatures for best results.
Cold paint doesn’t atomize right and creates sandpaper texture.
Hang your frame by threading wire through head tube, or mount on a stand so you can walk around and paint all sides without repositioning. This prevents fingerprints and lets you see what you’re doing.
- Shake primer can for two full minutes. Yes, two minutes. Your arm will hurt. Do it anyway.
- Hold spray can 6-8 inches from frame and spray in smooth, sweeping motions with slight overlap
- Start and end each stroke off the frame to avoid buildup
- Apply 2-3 thin coats of primer, waiting 10-15 minutes between coats per manufacturer instructions
- Let primer dry overnight before sanding gently with 400-grit sandpaper for ultra-smooth surface
Warning…
Applying thick layers hoping for quicker coverage leads to drips, runs, and uneven surfaces that ruin the final look. Thin coats dry faster and lay smoother every single time.
Step 2: Apply Color Coats

This is where your frame transforms. Or where everything goes sideways if you rush.
Spray.Bike paint should be held 1-4 inches from frame, closer than most spray paints, while maintaining steady hand movement at even pace. Other brands work best at 6-8 inches. If you’re getting rough orange-peel texture, you’re painting too far away and paint is drying before it hits the frame.
The rule: Multiple thin coats beat one thick coat every time.
- Apply three coats per session, waiting at least 5 minutes between coats
- Paint frame in two phases to access all angles—first phase rests on seat post and rear dropouts, second phase balances on crank arm and chainstay
- Your total might be 3-6 coats depending on color (white and yellow need more coats, while black and dark colors cover in 2-3 thin layers)
- Allow at least 30 minutes drying time between coats or before touching frame
Common mistakes:
- Getting too close → drips and runs
- Moving too slow → paint puddles and sags
- Spraying at an angle → uneven coverage
- Not shaking between coats → inconsistent texture
If you mess up and get a drip, wait for paint to dry completely before fixing it—trying to fix wet paint makes it worse. Once dry, sand the drip smooth with 600-grit paper and repaint that section. I’d wait at least 24 hours before the next step.
Step 3: Apply Clear Coat Protection
Your color looks perfect. Don’t stop now.
Clear coat seals paint and provides final glossy or matte finish while protecting against chips and fading. Use multiple light coats of clear—don’t load it thick or it will sag.
- Apply 2-3 coats of polyurethane clear coat spray
- Allow each layer to dry before applying next
- Process is identical to color coats—thin layers, proper distance, smooth sweeping motion

Safety Alert!
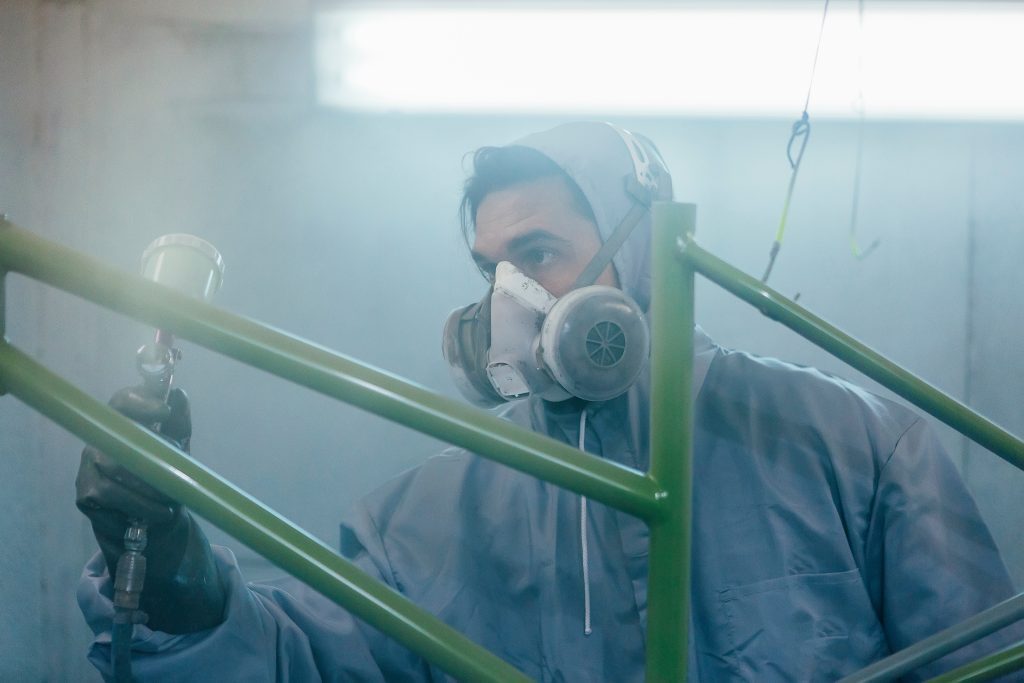
Clear coat fumes are particularly strong and require proper respirator protection and ventilation—safety glasses also recommended as it can get in your eyes.
This isn’t optional. Breathing this stuff damages your lungs permanently.
After final clear coat, allow 24-48 hours for paint to dry completely before handling, though full cure takes longer. Maximum paint adhesion and durability is achieved in 5-7 days.
Step 4: The Waiting Game
Here’s where most people screw up: they think “dry to touch” means “ready to ride.” It doesn’t.
Give frame minimum 48 hours for paint to fully cure before assembling parts. I wait 72 hours minimum. You can build up bike carefully after 48 hours but avoid clamping in workstand—it can take a month to reach full hardness.
During this time, keep frame in clean, dry space. Don’t touch it. Don’t lean tools against it. Don’t “just test fit this one part.” Every time you touch uncured paint, you leave a mark.
After full cure, reassemble carefully. If you paid attention during disassembly and stored parts carefully, reassembly should be quick. Torque everything to spec. Check brake alignment. Make sure chain tension is correct.
Stand back and admire your work. You just saved $300-700 and learned a skill that’ll serve you for life.
Frequently Asked Questions
With proper prep and quality paint, expect 1-3 years of good looks with regular street riding. Fixed gear bikes see hard use, so chips happen. Touch them up immediately and your paint job lasts longer. Powder coating lasts 10+ years but costs double.
Yes, and most DIYers do exactly this. Sand existing paint with 150-320 grit to create texture, clean thoroughly, then prime and paint. Only strip completely if paint’s bubbling badly or you want to inspect frame for cracks.
Same spray paints that work on steel work on aluminum—Krylon Fusion, Dupli-Color, Rustoleum. Aluminum’s oxide layer actually helps paint stick. Just sand and degrease properly. Standard metal primer works fine if you prep correctly.
Absolutely yes. Regular dust masks don’t filter volatile organic compounds (VOCs) that cause lung damage. Get a half-face respirator with organic vapor cartridges ($30-50). Paint outdoors or with serious ventilation. Your lungs will thank you in 20 years.
Let paint cure completely (24+ hours), then carefully sand drip flat with 600-grit sandpaper. Wipe clean, apply one thin coat over sanded area, feathering edges to blend. Finish with clear. Won’t be invisible, but way better than a drip.
Remove aftermarket stickers before painting. Factory graphics under clear coat should stay—trying to remove them ruins paint. If you hate brand logos, sand everything down to bare metal and start fresh, or cover with vinyl wrap after painting. Check out our guide on removing stickers for detailed instructions.
Final Thoughts
Painting your fixie frame isn’t rocket science—it’s patience science. Riders who get pro-looking results aren’t more talented; they just follow the process without cutting corners.
Your biggest enemies are rushing and overthinking. It’s not going to be perfect, but it’s going to be yours. Every custom frame you see on Instagram started the same way: someone with spray paint and willingness to try.
Now get out there and paint that frame.
Sources and references
- Instructables – Paint a Bike Frame
- Bicycling Magazine – How to Paint Your Bike
- The Bike Adviser – DIY Guide to Painting
- Bike Forums – Frame Painting Discussion
- Triathlon Budgeting – Powder Coating Costs
- Hagerty Media – Painting Mistakes
- Spray.Bike FAQ
- Articles about Fixed Gear and single-speed Cycling and Equipment
- Fixed-gear bicycle – Wikipedia
- 900+ Frame Custom Painting ideas | bike design, bicycle, bicycle design
